

A Gameplay Prototype with Tools
RESIDENT EVIL TEMPLATE
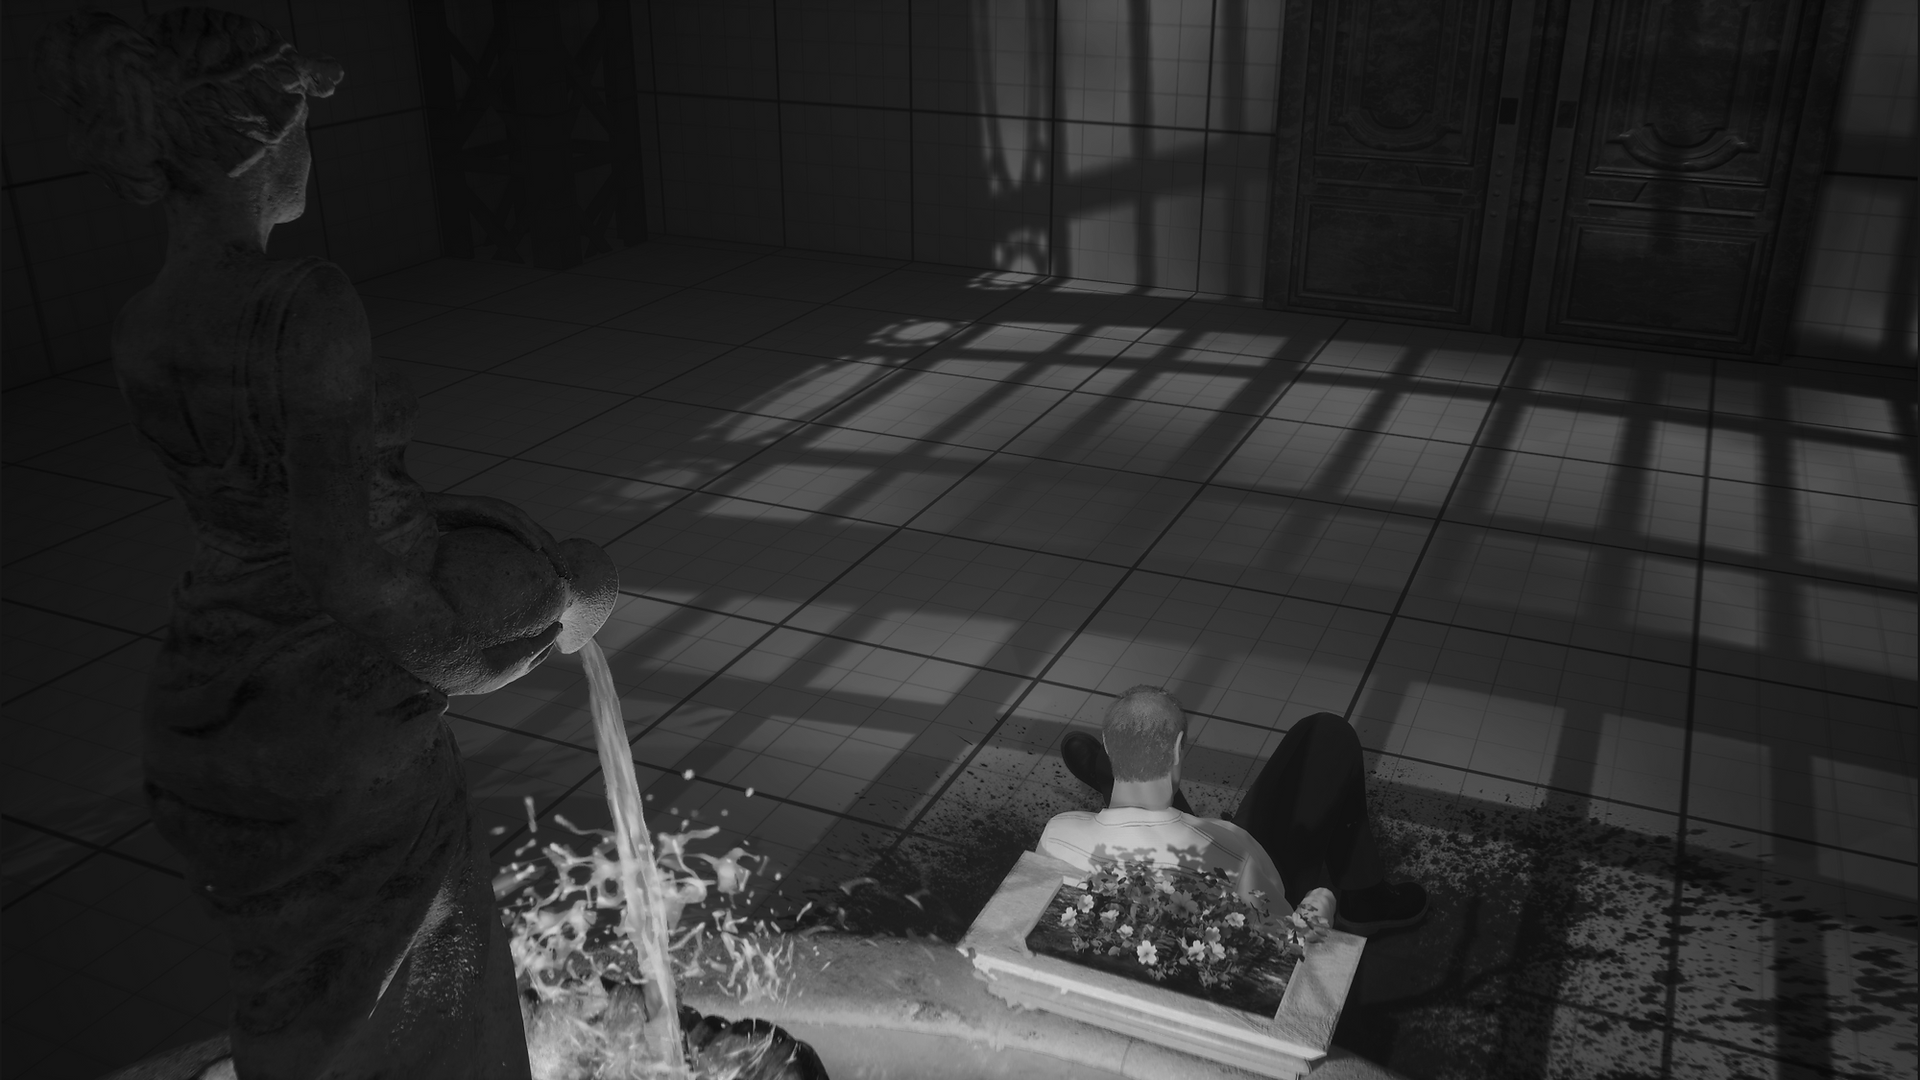
The video shows a demonstration level filled with features from the template.


As a big fan of the classic Resident Evil games I want to make an easy way for developers to create similar survival horror experiences without having to script anything by themselves.
My goals with this template are:
-
First created in Unreal Engine 4 and then updated to UE5.
-
Developed during free-time on-and-off since November 2021.
-
The project is still in development.
Visual Assets Used:
Downtown West by PurePolygons.
Victorian Train Station by Denys Rutkovskyi.
Supermarket by Wild Sparrow.
Specifications
Create an assignment where The Game Assembly Level Design students can focus on composition with gameplay already in place.
Create my own survival horror experience.
Once complete, release the template for anyone to use.
Summary
Project Breakdown


Resident Evil: Remake HD (2002/2015)
Template (2024)
Auto targeting enemies by the press of a button is a staple of the franchise. I feel that it lessens suspense and oversimplifies combat. So I replaced it with the ability to free-aim with a laser sight.
Updating the Gameplay


Resident Evil: 0 HD (2002/2016)
Template (2024)
It can be difficult to pick up the correct item when they’re all bunched up together. By holding the pick-up button and pressing a direction you’re now able to toggle between all items currently close to you.


Cameras switch by walking out of a trigger volume. It has two public variables: Camera Shot 1 and Camera Shot 2.
The trigger have three volumes in a row.
Two red ones, and a white one in between them.
When the player leaves the middle white box, it checks what red box is being overlapped and switches to its respective Camera Shot variable.
Camera Triggers
The camera switches once the white box overlaps end.


Performing the steps in-editor.

These are the steps to set up cameras switches:
-
Place two BP_Cameras in the scene.
-
Place and scale a BP_Trigger_Cameras to where you want the cameras to switch between each other.
-
In the trigger's detail panel choose what cameras should activate from which direction.


Changing a camera trigger from automatic to a door fade.

You can check out BP_Trigger_Cameras here:
Checking the "Door" bool on the BP_Trigger_Camera will change its uses:
-
The player now needs to press an interact button for the camera switch to happen.
-
The red boxes gets replaced by two vector points. These can be placed to where you want the player to spawn on each side of the door.


An example of how triggers can cause events on an item pickup or a volume overlap.
You can check out BP_Trigger_Events here:
By placing a BP_Trigger_Events in the scene you can make it cause any of these events:
-
Wake up specific zombies.
-
Enable/disable camera switch triggers.
-
Unlock doors
-
Break meshes using Unreal Fracture.
-
Trigger a custom event for any blueprint.
You can also select how the event should trigger:
-
A pawn overlapping the event trigger.
-
The player picking up an item.
-
The player entering a new room.
Event System


Inventories require communication between many different elements: Data, widgets and in-world actors like the player and items.
So I created a function library that manages most features and events surrounding the items and inventory. This helps simplify the script flow and avoid too many dependencies.

Inventory


You can drag the actor BP_Item to the scene and change their public item variable to whatever item preset you want.
The current presets are:
-
Handgun
-
Handgun Ammo
-
First Aid Kit
-
Key
And I plan to make a lot more.
Updating an item through the presets in-editor.


You can also create custom items through these steps:
1. Find or create:
- A mesh
- A thumbnail
2. Open the Datatable "DT_Items" and create a new
row with your own desired variables.
3. Place the item in your scene and change the public item variable to the row name you created.
Creating a custom item in-editor.


Every item are made up of the following data:
-
Item Name - A text value shown when examining the item.
-
Item Type - Items can be Ammo, Consumables, Weapons, Keys and so on.
-
Thumbnail - The item image shown in the inventory.
-
Mesh - The static mesh of the item. How it looks in-world and when examining it.
-
Mesh Transform - Applicable if you want a different scale or rotation of the mesh than its default.
-
Stackable - A boolean for items to be able to stack on the same inventory slot.
-
Amount - How many should be picked up in a default pickup. It can be overriden in instances.
-
Special Effect Value - This is an integer deciding how much a consumable heals.
-
Combines With - If the item can be combined it needs to know the other BP_item counterpart.
-
Forms Item - When it has been combined with the other item, this is what item they form.
-
Item Description - The text that shows up when examining the item.
You can check out BP_Item here:


This template has been used by three different Level Design classes at The Game Assembly. Every year they impress with well composed scenes and give feedback that makes me able to further improve all the tools.
I love working on this project and I can't wait to optimize and finetune the gameplay and share the full template with you.
Thank you for reading!
Closing Thoughts


